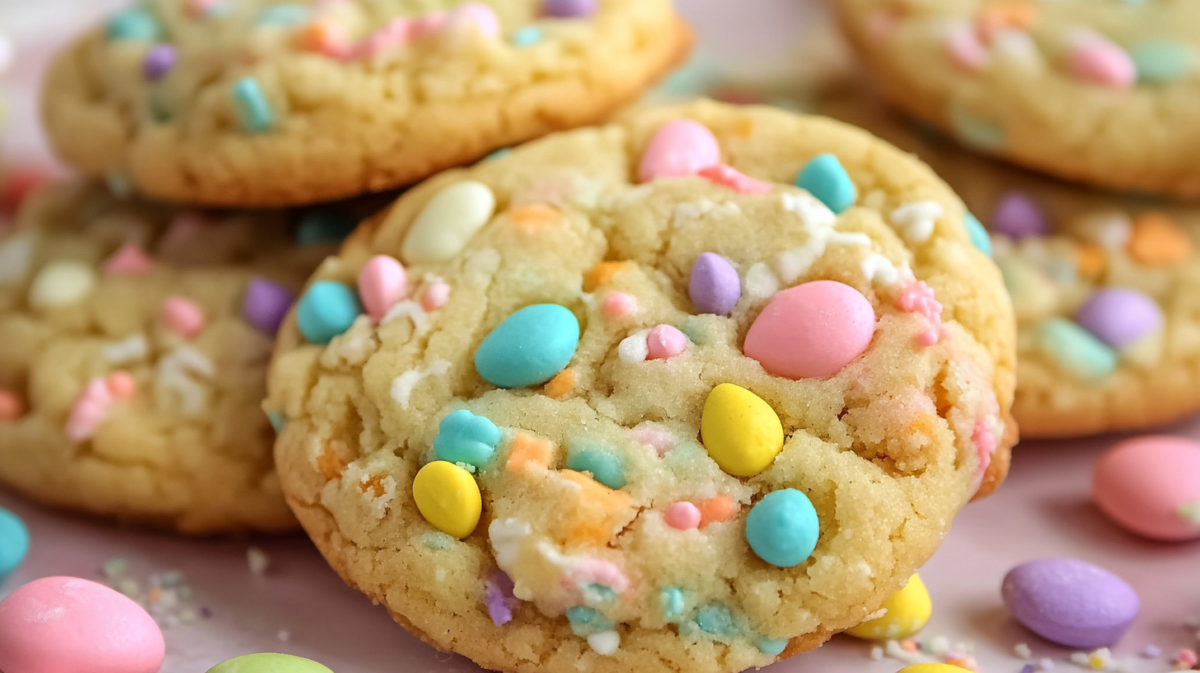
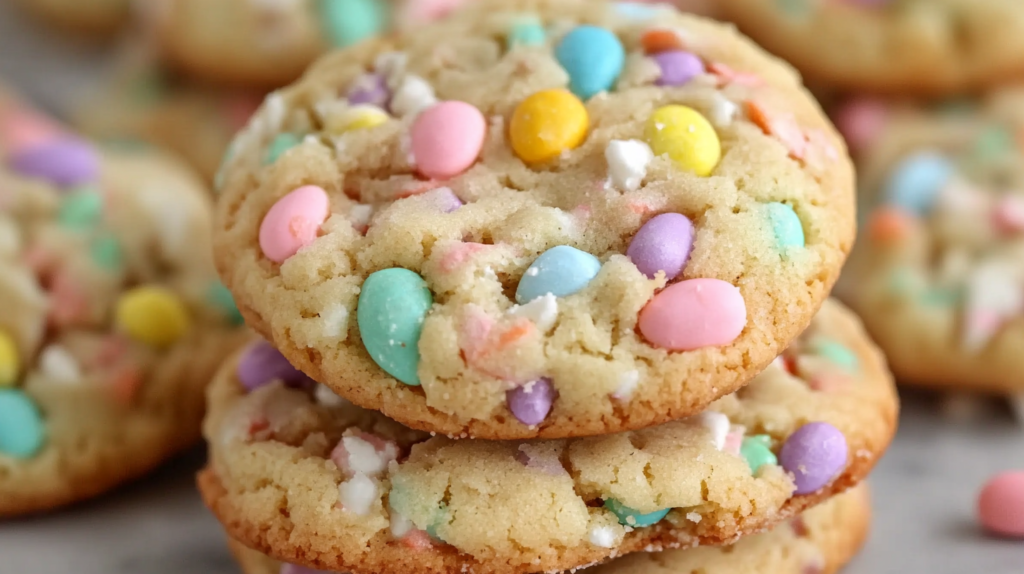
These soft and chewy Easter cookies are the sweetest way to celebrate the season! Imagine biting into a perfectly tender cookie with crisp edges and a pillowy center, studded with pastel-colored chocolate candies that add the perfect festive touch. Trust me, these cookies will disappear faster than you can say “Easter Bunny” – they’re that irresistible! I’ve perfected this recipe to be simple enough for bakers of all levels, while delivering that melt-in-your-mouth texture that’ll have everyone asking for the recipe
Why You’ll Love This Recipe
- These cookies stay soft and chewy for days (if they last that long!)
- The dough comes together in just one bowl – fewer dishes to wash!
- Perfect activity to make with kids during Easter celebrations
- Customizable with different Easter candies or chocolates
- Makes your home smell absolutely heavenly while baking
- They’re pretty enough for any Easter dessert table or gift basket
- Can be made ahead and frozen for when the sweet tooth strikes
Ingredients
- All-purpose flour: The backbone of our cookies, providing structure while keeping them tender
- Baking soda: Gives just the right amount of lift without making them cakey
- Salt: Enhances all the flavors and balances the sweetness
- Butter: Use unsalted and make sure it’s properly softened for the best texture
- Brown sugar: Adds moisture and that irresistible chewy texture
- Granulated sugar: Creates those slightly crisp edges we all love
- Egg: Binds everything together and adds richness
- Vanilla extract: Don’t skimp here – use pure vanilla for the best flavor!
- Easter M&Ms or candies: The star of the show, adding festive color and chocolate goodness
- White chocolate chips: Optional but highly recommended for extra sweetness and creaminess
How to Make Easter Cookies
Trust me when I say these might be the easiest cookies you’ll ever bake! I’m all about simplifying things in the kitchen without sacrificing flavor, and these cookies deliver on both fronts. The dough comes together in minutes, leaving you more time to enjoy the fun part – decorating and eating them!
First, we’ll cream together the butter and sugars until they’re light and fluffy. This step is crucial for that perfect cookie texture, so don’t rush it! Then we’ll add the egg and vanilla, mixing until everything is beautifully combined. Next comes the dry ingredients – just fold them in gently until you’ve got a soft, pillowy dough. Finally, the magical moment: folding in those colorful Easter candies and white chocolate chips!
After a quick chill (I promise it’s worth the wait!), we’ll scoop, bake, and voilà – Easter cookie perfection. The hardest part? Waiting for them to cool just enough so you don’t burn your tongue when you inevitably grab one straight from the oven!
Tips for Perfect Easter Cookies
- Room temperature ingredients make all the difference – set your butter and egg out about an hour before baking
- Don’t overmix once you add the flour – this keeps your cookies tender instead of tough
- Chill the dough for at least 30 minutes – this prevents spreading and intensifies the flavor
- Use a cookie scoop for uniform cookies that bake evenly
- Press a few extra candies on top of each dough ball before baking for that picture-perfect look
- Slightly underbake for the chewiest texture – they should look just barely set in the center
- Let them cool on the baking sheet for 5 minutes before transferring to a cooling rack
Variations to Try
The beauty of these Easter cookies is how versatile they are! Here are some fun ways to mix things up:
- Swap in pastel-colored sprinkles for a confetti cookie effect
- Add a teaspoon of lemon or orange zest for a bright, citrusy twist
- Try different candy varieties – mini eggs, broken Easter chocolate bunnies, or pastel chocolate chips all work beautifully
- Drizzle cooled cookies with melted white chocolate and top with sprinkles for extra festive flair
- Add 1/4 cup of finely shredded coconut to the dough for a tropical touch
Storing Your Easter Cookies
These cookies stay wonderfully soft and chewy for days when stored properly. Keep them in an airtight container at room temperature, and if you want to maintain maximum freshness, tuck a piece of bread in with them – it’s my grandma’s secret trick!
Need to make them ahead? The dough freezes beautifully! Just roll it into balls, freeze on a baking sheet, then transfer to a freezer bag. When the craving strikes, bake straight from frozen, adding just a minute or two to the baking time. Fresh, warm cookies whenever you want them? Now that’s what I call Easter magic!
Serving Ideas for Easter Cookies
These cookies aren’t just delicious – they’re the perfect Easter treat to share and celebrate with! I love setting these out on a pretty pastel platter for Easter brunch or afternoon tea. They make the most adorable addition to any Easter dessert table, especially when stacked on tiered stands with other spring treats.
Want to make your Easter egg hunt even more special? Hide a few of these cookies along with the eggs for an extra sweet surprise! The kids will be thrilled to discover these colorful treats among their Easter treasures.
These cookies also make thoughtful homemade gifts. Package a few in clear cellophane bags tied with pastel ribbon, or arrange them in Easter-themed boxes for teachers, neighbors, or family members. Add a personalized note, and you’ve got a heartfelt gift that’s sure to brighten someone’s day!
Why These Easter Cookies Stand Out
What makes these cookies truly special isn’t just their festive appearance or delightful flavor – it’s how they bring people together. There’s something magical about gathering in the kitchen to mix, bake, and decorate these treats. The smiles that spread across faces when that first bite reveals the perfect balance of chewy cookie and crunchy candy pieces? Absolutely priceless.
I’ve tried countless cookie recipes over the years, but this one has become an Easter tradition in my home. The simplicity, the reliable results, and the joy they bring make them worth making year after year. Whether you’re an experienced baker or just starting out, these cookies deliver that homemade touch that makes holidays so special.
So gather your ingredients, preheat that oven, and get ready to create some Easter memories with these irresistibly soft and chewy cookies. I promise they’ll become a tradition in your home too!
Frequently Asked Questions
Can I make these Easter cookies ahead of time?
Absolutely! These cookies actually maintain their soft, chewy texture beautifully for several days. You can bake them up to 3 days before your Easter celebration and store them in an airtight container. For even fresher results, you can prep the dough ahead of time, refrigerate it for up to 3 days, or freeze the cookie dough balls for up to 3 months! When you’re ready to bake, just add a minute or two to the baking time if starting from frozen.
Can I use regular M&Ms instead of Easter-colored ones?
Definitely! While the pastel Easter colors make these cookies particularly festive for spring, you can absolutely use regular M&Ms or any chocolate candies you have on hand. The recipe will work just as wonderfully, and you can make these cookies for any occasion throughout the year. Red and green M&Ms for Christmas? Perfect! Orange and brown for fall? Delicious!
My cookies spread too much. What happened?
Trust me, we’ve all been there! Cookies that spread too much usually come down to a few common culprits. First, make sure your butter wasn’t too warm – it should be softened but still slightly cool to the touch. Another game-changer is chilling the dough before baking. Even just 30 minutes in the refrigerator helps the fats solidify, preventing excessive spreading. Also, check that your baking soda is fresh and that you measured the flour correctly. A little extra flour (just a tablespoon or two) can help if you live in a particularly humid climate.
Can I make these cookies gluten-free?
Yes! I’ve tested these with a 1:1 gluten-free flour blend with excellent results. The cookies turn out just as soft and chewy, though they might not spread quite as much as the original version. You may want to slightly flatten the dough balls before baking if using gluten-free flour. Just make sure all your other ingredients, including the candy coating, are certified gluten-free if that’s a concern.
How do I know when the cookies are done baking?
The secret to perfectly soft and chewy cookies is to slightly underbake them! Look for edges that are set and lightly golden, while the centers still appear slightly underdone or soft. They’ll continue cooking on the hot baking sheet after you take them out of the oven. Remember, every oven is different, so start checking them a minute or two before the recipe suggests. Trust your instincts – you want them just barely set for that ideal chewy texture!
Final Thoughts
There’s something so special about homemade cookies during the holidays, and these Soft and Chewy Easter Cookies truly capture the joy and sweetness of the season. I’ve made these countless times for family gatherings, school events, and just because it’s Tuesday and we needed something delicious – they never disappoint!
What I love most about this recipe is how it brings people together. The kitchen filled with the aroma of fresh-baked cookies, little hands eager to press colorful candies into cookie dough, and the shared delight when everyone takes that first perfect bite. These moments are what holiday memories are made of.
Whether you’re an experienced baker or trying your hand at homemade cookies for the first time, this recipe is foolproof and rewarding. The combination of that soft, tender texture with pops of chocolate and candy creates something truly special that stands out on any Easter dessert table.
So grab your mixing bowl, turn on some music, and get ready to create a new Easter tradition. These cookies might just become the most requested treat in your recipe collection – they certainly are in mine! From my kitchen to yours, happy baking and happy Easter!