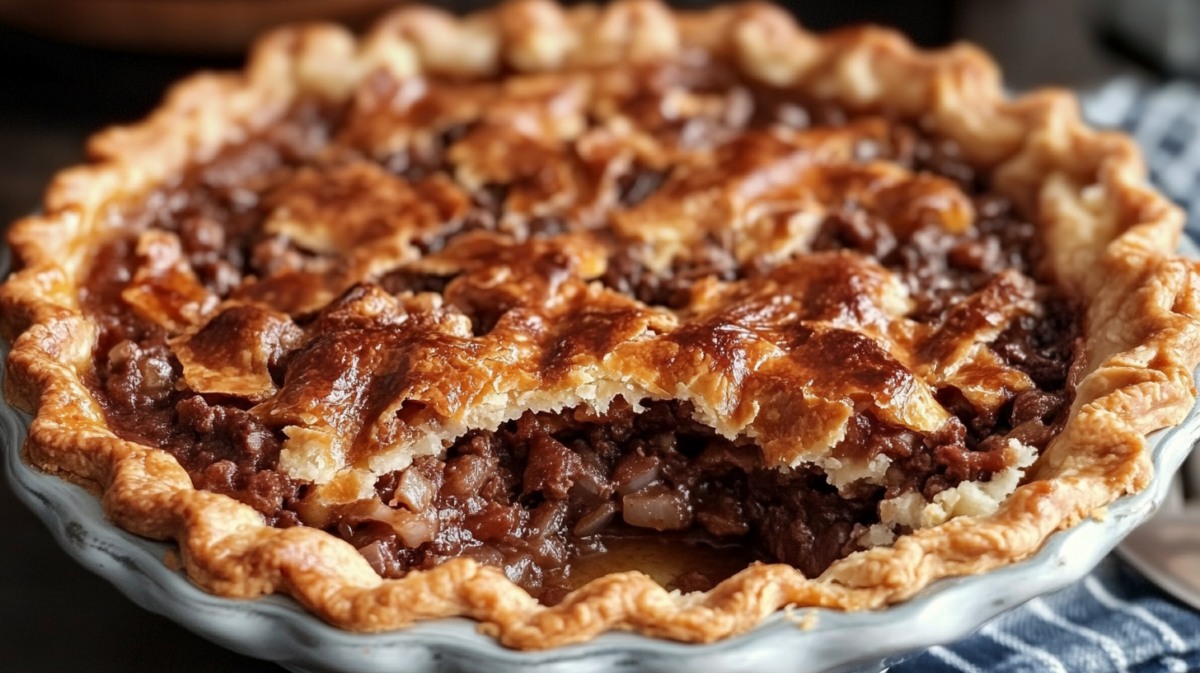
This humble Hillbilly Pie (also known as Poor Man’s Pie) is a true testament to how the simplest ingredients can create something absolutely magical. I stumbled across this recipe years ago when I was scrounging through my pantry on a night when groceries were low and my budget was even lower. Trust me when I say this unassuming pie will surprise you with its rich, comforting flavors that feel like a warm hug from grandma’s kitchen. It’s rustic, unpretentious, and somehow manages to taste like you spent hours in the kitchen when it’s actually one of the easiest desserts you’ll ever make!
Why You’ll Love This Recipe
- Uses pantry staples you likely already have on hand
- Comes together in minutes but tastes like it took all day
- Perfect balance of sweet and buttery flavors
- Makes your kitchen smell absolutely heavenly
- Ideal for unexpected guests or last-minute dessert cravings
- Budget-friendly without sacrificing on taste
- Can be dressed up or down depending on the occasion
- Freezes beautifully if you (somehow) have leftovers
Ingredients
- All-purpose flour – creates that perfect tender crust that’s the foundation of our pie
- Sugar – just enough to sweeten without overwhelming the other flavors
- Butter – gives that rich, melt-in-your-mouth quality that makes this pie irresistible
- Milk – helps create that magical custard-like filling
- Vanilla extract – adds warmth and depth to the overall flavor
- Cinnamon – for that homey, nostalgic spice that makes everything better
- Salt – enhances all the other flavors and balances the sweetness
- Baking powder – gives just the right amount of lift to keep things from getting too dense
How To Make Hillbilly Pie
Listen, this is where the magic happens, and I’m not kidding when I say it’s almost too easy to be this delicious! You’ll start by melting that butter until it’s good and liquidy—I usually pop it in the microwave for about 30 seconds, but you could certainly do this on the stovetop if you prefer. While that’s happening, grab your mixing bowl and whisk together your dry ingredients. When you pour that melted butter and milk mixture in, something truly special starts to happen. The batter transforms into this velvety, slightly thick consistency that just screams comfort food.
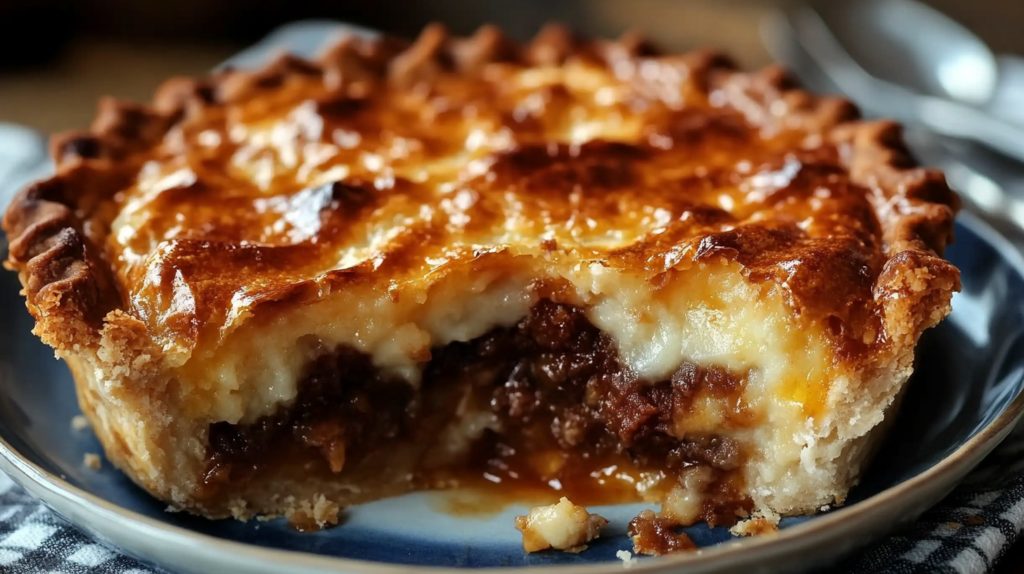
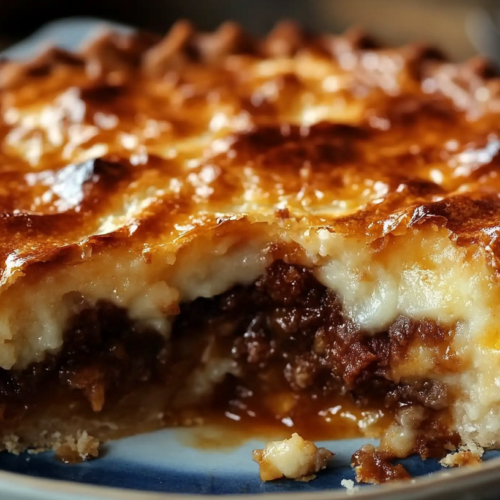
When you pour it into your pie dish, it might seem too simple to be amazing—but that’s the beauty of it! As it bakes, your kitchen will fill with the most intoxicating aroma of butter, vanilla, and cinnamon. The top gets this gorgeous golden color with a slight crackle, while the inside stays tender and almost pudding-like. It’s like magic in a pie dish, I swear!
Tips for Success
- Use room temperature milk for the smoothest batter
- Don’t overmix! Just until everything is combined
- The center might seem slightly jiggly when done—that’s perfect!
- Let it cool for at least 15 minutes before serving (I know it’s hard to wait!)
- A sprinkle of powdered sugar on top takes it to the next level
- Vanilla ice cream on the side? Game-changer!
Variations to Try
Oh friend, this is where you can really make this humble pie your own! Try adding a handful of chocolate chips for a gooey surprise, or maybe some diced apples and extra cinnamon for a fall twist. I’ve even thrown in some frozen berries when I’m feeling fancy, and let me tell you—absolutely divine! The beauty of Hillbilly Pie is that it’s like that perfect little black dress—it goes with everything and never disappoints.
Serving Suggestions
While this pie is absolutely perfect on its own (seriously, I’ve eaten it straight from the pan), serving it slightly warm with a scoop of vanilla ice cream or a dollop of fresh whipped cream will have everyone thinking you’re some kind of dessert wizard. It’s equally delicious with morning coffee the next day—not that I’m admitting to eating pie for breakfast, but also… I’m not not saying that.
Whether you’re serving this at a potluck, as a weeknight treat, or just because you deserve something sweet, this Hillbilly Pie recipe is proof that sometimes the best things in life are the simplest. Go ahead and give it a try—your taste buds (and wallet) will thank you!
Storage Tips
Let’s talk about keeping this deliciousness around (if it even lasts that long!). Once your Hillbilly Pie has completely cooled, you can cover it with some plastic wrap or pop it in an airtight container. It’ll stay gorgeous on your counter for about 2 days, but honestly, I’ve never had it last that long in my house! If you want to extend its life a bit, tuck it away in the fridge where it’ll keep beautifully for up to 5 days.
And here’s a little secret between friends – this pie actually freezes like a dream! Cut it into individual slices, wrap each one in plastic wrap and then foil (belt and suspenders, I know, but trust me), and you’ve got emergency dessert ready to go for up to 3 months. Just thaw overnight in the fridge and warm it slightly in the microwave or oven. It’s like having a little slice of heaven on standby!
The History Behind Hillbilly Pie
There’s something so special about these “make-do” recipes that were born out of necessity during leaner times. Hillbilly Pie (or Poor Man’s Pie) comes from that wonderful tradition of creative cooking when ingredients were scarce but the desire for something sweet and comforting wasn’t. It reminds me of my grandmother who could whip up something magical from practically nothing.
What I love most about recipes like this is how they’ve stood the test of time. When fancy, complicated desserts have come and gone, this humble pie continues to delight generation after generation. It’s a beautiful reminder that sometimes the most precious things are the simplest.
Why This Recipe Works
The science behind this pie is actually pretty fascinating. When you mix the butter with the flour and allow it to bake, it creates these beautiful layers that somehow manage to be both cake-like and custard-like at the same time. The ingredients work together in perfect harmony to create something that’s greater than the sum of its parts.
I hope you fall in love with this Hillbilly Pie just like I have. It’s one of those recipes that proves you don’t need fancy equipment or exotic ingredients to create something truly special. Now go on and get baking – your taste buds are waiting for this treat!
Frequently Asked Questions
Can I use margarine instead of butter? While butter gives this pie its signature rich flavor, margarine will work in a pinch! Just know that the flavor profile might shift slightly, and you may not get quite the same velvety texture. But hey, in the spirit of making do with what you have (which is what this pie is all about!), go for it!
My pie seems to have a slightly gooey center. Did I underbake it? Not at all! One of the charming qualities of Hillbilly Pie is that magical, slightly pudding-like center. As long as it’s not completely liquid and your toothpick comes out with just a few moist crumbs, you’re good to go. That’s where all the comfort lives!
Can I add fruit to this recipe? Absolutely! That’s the beauty of this humble pie – it’s incredibly adaptable. Fresh berries, diced apples, or sliced peaches would be absolutely divine. Just fold them gently into the batter before baking, and you’ve created your own signature version!
What size pie dish works best? I typically use a standard 9-inch pie dish, but this recipe is super forgiving. If you only have an 8-inch, the pie will just be a bit thicker (and who’s complaining about that?). You can even use a cast iron skillet for a rustic touch that looks gorgeous served right to the table.
Can I make this dairy-free? I haven’t personally tested it with dairy alternatives, but readers have reported success using plant-based butter and almond milk. The texture might be slightly different, but the spirit of this simple, delicious pie remains intact!
Remember, the beauty of Hillbilly Pie is its simplicity and adaptability. Don’t be afraid to make it your own – that’s how the best family recipes are born!
Conclusion
And there you have it, friends – the humble Hillbilly Pie that proves sometimes the most magical recipes come from the simplest ingredients. I hope this becomes one of those go-to recipes you reach for when you need something comforting, delicious, and easy on the wallet. The kind of recipe that gets passed down on stained recipe cards and becomes part of your family’s food story.
What I love most about dishes like this is how they connect us – to simpler times, to creative cooking, and to each other when we share them around the table. There’s something so beautiful about a recipe that has sustained families through lean times and continues to bring joy today.
So whether you’re making this out of necessity or just because you’re craving something sweet and satisfying, I hope this Hillbilly Pie brings a little warmth to your kitchen and a lot of smiles to whoever is lucky enough to grab a slice. And remember, sometimes the best things in life really are the simplest. Happy baking, my friend!
Further Exploration: Delicious Recipes to Try Next
If you loved the comforting simplicity of Hillbilly Pie (Poor Man’s Pie), you might enjoy exploring some other delightful homemade treats. For a no-bake option, check out this No-Bake Banana Split Cake, which layers classic flavors into a refreshing dessert. If you're a fan of peanut butter, these Thick and Chewy Peanut Butter Cookies will hit the spot. Those who appreciate rich and creamy textures should try the Cool Whip and Pudding Frosting, a simple yet indulgent topping. For a traditional Italian twist, explore Calabrian Fig Mostarda, a sweet-and-savory condiment perfect for pairing with cheeses or meats. And if you’re looking for another nostalgic pie, the Amish Peanut Butter Cream Pie is sure to become a family favorite!
Hillbilly Pie (Poor Man’s Pie)
Equipment
- Mixing Bowl
- Whisk
- 9-inch Pie Dish
- Oven
Ingredients
Pie Batter
- 1 cup all-purpose flour
- 1 cup sugar
- 1/2 cup unsalted butter melted
- 1 cup milk room temperature
- 1 tsp vanilla extract
- 1 tsp cinnamon
- 1/4 tsp salt
- 1 tsp baking powder
Instructions
- Preheat your oven to 350°F (175°C) and lightly grease a 9-inch pie dish.
- In a mixing bowl, whisk together the flour, sugar, cinnamon, salt, and baking powder.
- In a separate bowl, mix the melted butter, milk, and vanilla extract.
- Pour the wet ingredients into the dry ingredients and stir just until combined. Do not overmix.
- Pour the batter into the prepared pie dish and smooth the top.
- Bake for 35-40 minutes, or until the top is golden brown and slightly crackled. The center may still be a little jiggly—that’s perfect!
- Let the pie cool for at least 15 minutes before serving. Sprinkle with powdered sugar or serve with vanilla ice cream for extra indulgence.